HOW-TO GUIDE : SNAPCHAT FILTERS

It’s now possible for any user to create and use both 2d and 3d animated filters that they have personally crafted in Snapchat’s Lens Studio. Lens Studio is a real-time tool that features easy-to-use templates and video tutorials that teach users how to navigate the application. These templates allow just about anyone to create a plethora of different lenses and filters—from headbands to face distortions and pet face tracking, there are seemingly endless possibilities.
Looking to get started creating your own Snapchat filters? Our Intern Serena has created a step by step guide to help you out!

Step One: Download Lens Studio & Sign In
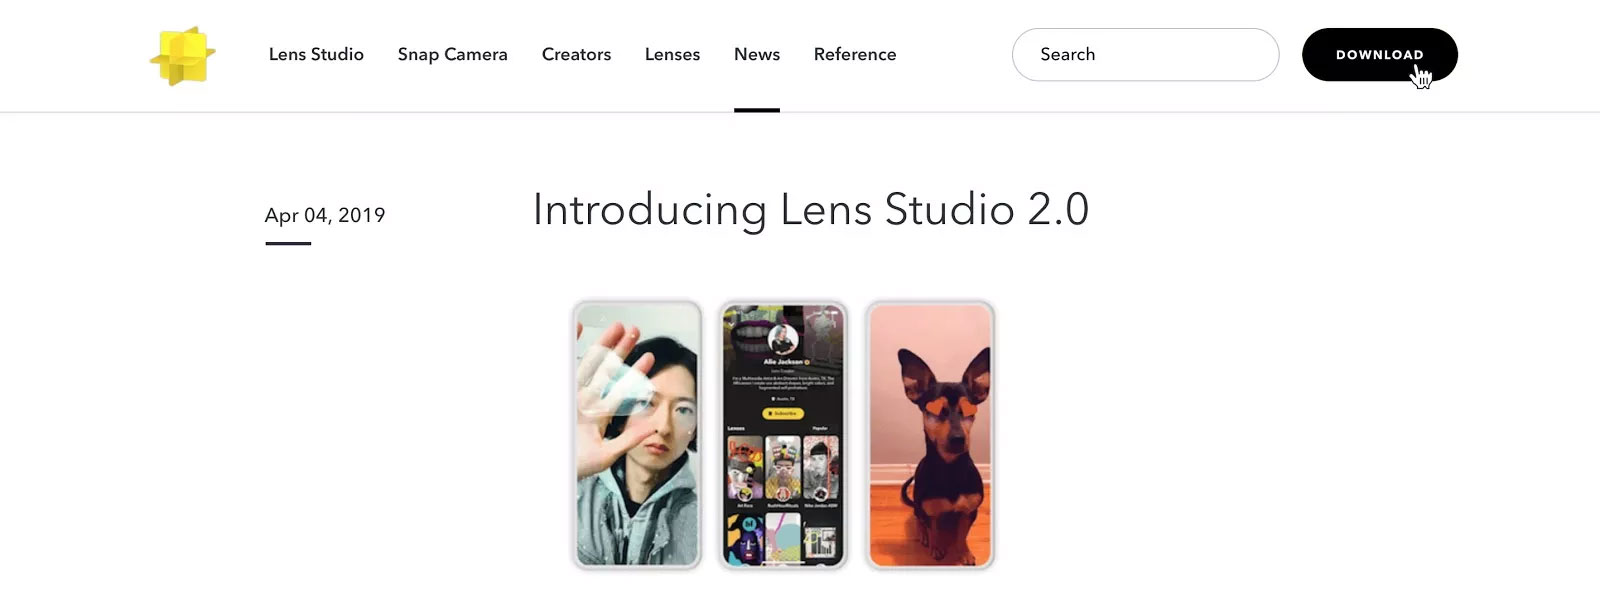
The very first step is downloading Lens Studio from the Lens Studio by Snapchat website; the application is both IOS and Windows-compatible. Once you are in the app, you’ll see a window that features an entire library of templates for you to play around with. You’ll need to sign into your Snapchat account in order to submit, launch and organize your filters; there is even a feature that allows you to sync the application to your cell phone and preview your filters live before submission!

Step Two: Choose A Template, or Create New Project
You can either choose to use one of the provided templates or create your own project. If you choose a template, the Lens Studio website provides video tutorials on their website that show you step-by-step how to use provided assets, as well as how to import your own assets from your computer. It is smooth sailing from here! There are various applications that you can use to create your own artwork; Adobe Illustrator, Cinema 4D, Blender and Maya are examples. 2d objects should be saved as either .jpg or .png files, depending on your desired effect; 3d objects should be saved as standard .obj files.

Step Three: Add Your Assets
If you decided to use a featured template, as I did to make the filter pictured above, the work on your end is made much easier. I chose to use the “2D Objects” template and replace the given artwork with one of my own. To do this, all you have to do is drag your desired artwork and assets into the resources panel, located at the bottom right-hand corner of your project window. You can also delete the assets and other objects given to you in both the “Resources” and “Object” tabs.

To add sprites to your project, click the “Add New” button in the “Objects” panel. Then select “Face Sprite”. In the sprite settings you must change “Texture” to the image that you imported previously. You then can move the points on the face mesh to match the image that you have imported. You can also play with other settings such as the Blending Mode or Opacity.

Step Five: Name Your Lens/Filter
Once you’re satisfied with your lens or filter, you must save your project and the click on the “Project Info” in the top left-hand corner of your project window to name your lens and upload an icon image that will show up when other users search and unlock the lens on their phones.

After this click on the “Publish Lens” button that is also in the top left-hand corner. In this window you can add an image preview of what your lens or filter looks like, and also tags that allow other users to find it in the lens library. Then all you have to do is submit your creation and wait for Snapchat to approve it, this can take anywhere from a few minutes to a few hours. You will know when your filter goes live, as it will say “live” with a green light when you look at your personal filters library within Lens Studio.

Step Seven: Scan & Enjoy!
Once it’s approved you can scan the snap code with your phone and unlock the filter for 48 hours, after 48 hours the filter will expire but all you have to do is rescan the snap code and renew it. And there you go, you made your own Snapchat filter!
If you love social media as much as we do, you’ll know there’s also plenty to do with Instagram! Check back later this week to learn how you can create your own Instagram stickers!